A WordPress Development Workflow for Small Teams in 2015

The future of web development is here, and has been for a while. I’m talking about front end tools that speed up workflow like Grunt and Sass. The developers that work on WordPress core know that, and they are utilizing it. WordPress theme developers even utilize it. Maybe even plugin developers. So why can’t we utilize it on a per-project basis when developing WordPress websites?
We can. We can develop every WordPress site locally. We can use Grunt, Sass, and NPM on every single project. If we must, we can even share our local sites with the outside world for previewing or collaborating.
We don’t have to install a different WordPress plugin for each front end tool we want to use. We don’t have to do all of our development work on remote servers. Even though that may seem easier or faster, it’s not ideal. You need to have a way to stage a bunch of work without affecting what’s already there.
A WordPress fundamental that really complicates things is this: the codebase and the database are completely separate from each other. So we need an easy way to migrate the site’s code from local to development server and back, to production server. We also need a separate way to do this with the database.
Here’s a list of the tools that are instrumental in making this happen:
Below, I’ll explain these tools in a bit more detail. After that, I’ll explain how to use them. You might want to get in the tutorial-following mood to continue reading, but following along isn’t required for learning. And you can certainly use different tools.
MAMP
MAMP stands for Mac, Apache, MySQL, and PHP. It’s what we use to develop WordPress sites locally. You have to have it or something comparable. I like MAMP PRO because it’s so easy to use and has a nice design.
Scratch
Scratch is the world’s first Advanced Custom Fields-ready WordPress theme. It’s not so much a theme as a springboard for building your own fully custom WordPress themes.
Scratch has its own Gruntfile that takes care of SCSS and JS compilation, concatenation, and minification. It also optimizes images as they are uploaded to the WordPress media library. It uses BrowserSync for live reloading and synchronized cross-browser/cross-device testing.
Bitbucket
Bitbucket provides Git and Mercurial code management for teams. It has a bit more of a flexible pricing plan with regard to private repositories. You could easily use an organization plan with GitHub.
DigitalOcean
DigitalOcean provides simple cloud hosting for developers. We ❤️ it because we have 100% control of all of our servers (or “Droplets”, as DO labels them). DO has a gorgeous web app for managing all of the droplets in the browser, but to be honest, if you go with DO you’ll be doing most of your work in the terminal. I will talk about our droplet setup in another post, but it’s nothing you can’t find while browsing DO’s invaluable tutorials and forums.
Codeship
Codeship is a continuous delivery platform. What that means is you can configure automated testing and deployment to be run on every push you make to your repository. It’s pretty sick. I’ll explain further on in the post. There are loads of CI and CD platforms out there, but we felt this one was the most small-team-friendly due to its ease of use and pricing structure.
WP Sync DB
WP Sync DB is a WordPress plugin that allows you to pull and push your databases with automatic find and replace for URLs, all at the click of a button or two.
The Process – Setup, Pushing, and Pulling

Local Setup
- Install MAMP or MAMP Pro.
- Install WordPress.
- Follow the steps to get Scratch up and running.
- Push the final codebase to a new Bitbucket repo.
Obviously, you won’t have to install MAMP every time you want to work on a new WordPress site, but you will have to install WordPress and Scratch for each project, so you’ll want to streamline this as much as possible. Our approach was to install everything just the way we always want it, and then create a Bitbucket repository containing that code and an SQL dump of the database. We call it “Perfect Setup.” Then, when it’s time to start a new project, we simply clone Perfect Setup and push it to a brand new Bitbucket repo.
But, I decided to take it one step further. It’s kind of pain having to set up a new DB and DB user everytime, and then going through the WP install process, linking up the wp-config.php file. So I created perfect_setup.sh. You can view the GitHub repo here. It shaves minutes off of setup time, and these minutes add up.
I would also share Perfect Setup with you here, but we use two premium plugins (Advanced Custom Fields Pro and Gravity Forms, which are well worth it), so we have to keep it private. Plus, your perfect setup may not be Perfect Setup. I encourage you to make your own!
Remote Setup
- Set up a dev server by adding a Droplet in DigitalOcean.
- Reserve a directory on your dev server for the site.
- Configure DNS for the dev site.
- Clone your new Bitbucket repo to the reserved directory.
- Push your local database using WP Sync DB.
- Integrate your Bitbucket repo and remote server with Codeship.
For our LEMP stack and for reserving directories, we use a CLI called EasyEngine. You simply run sudo ee site create example.com --wpfc, and it creates the site directory, creates the Nginx configuration file, and creates the symbolic link to the newly created directory. It also creates the WordPress database, installs WordPress, and generates the wp-config.php file. Sorta like perfect_setup.sh (you can see where I got the inspiration).
Once you’ve got the directory reserved, you can clone your project to said directory. You’ll want to clone using SSH so that your Codeship deployments work. Here’s a guide for getting Bitbucket/SSH set up on your server. Once you’ve done that, you can do something like this:
cd /var/www/example.com/htdocs
sudo rm -rf *
git clone git@bitbucket.org:example-user/example-site.git .
Don’t run
sudo rm -rf *unless you know what you’re doing. That command removes everything in the current working directory, recursively, with no way to get it back.
Here’s where WP Sync DB comes in. You need to get the new local database you just set up linked with the remote site. Right now, if you’ve configured your DNS, when you visit your dev site you will see a blank white screen. This is because the active database is searching for Twentyfifteen, the current default WordPress theme. However, you have Scratch installed. (You may actually see Twentyfifteen depending on whether or not you left the theme directory in your WordPress installation.)
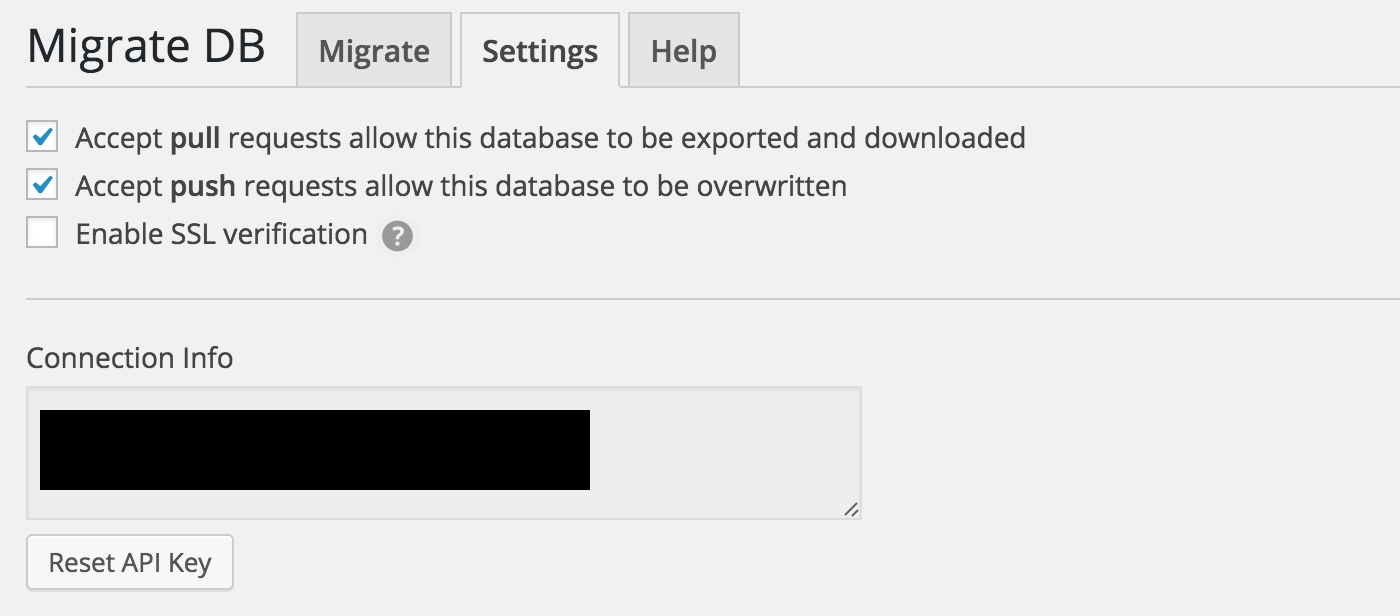
Even though you have a blank white screen on the front end, you can still log in to WordPress. You need to activate the WP Sync DB plugin to use it. Then, you must go to Tools > Migrate DB > Settings. Check the boxes to allow both push and pull requests, and then copy the connection info.
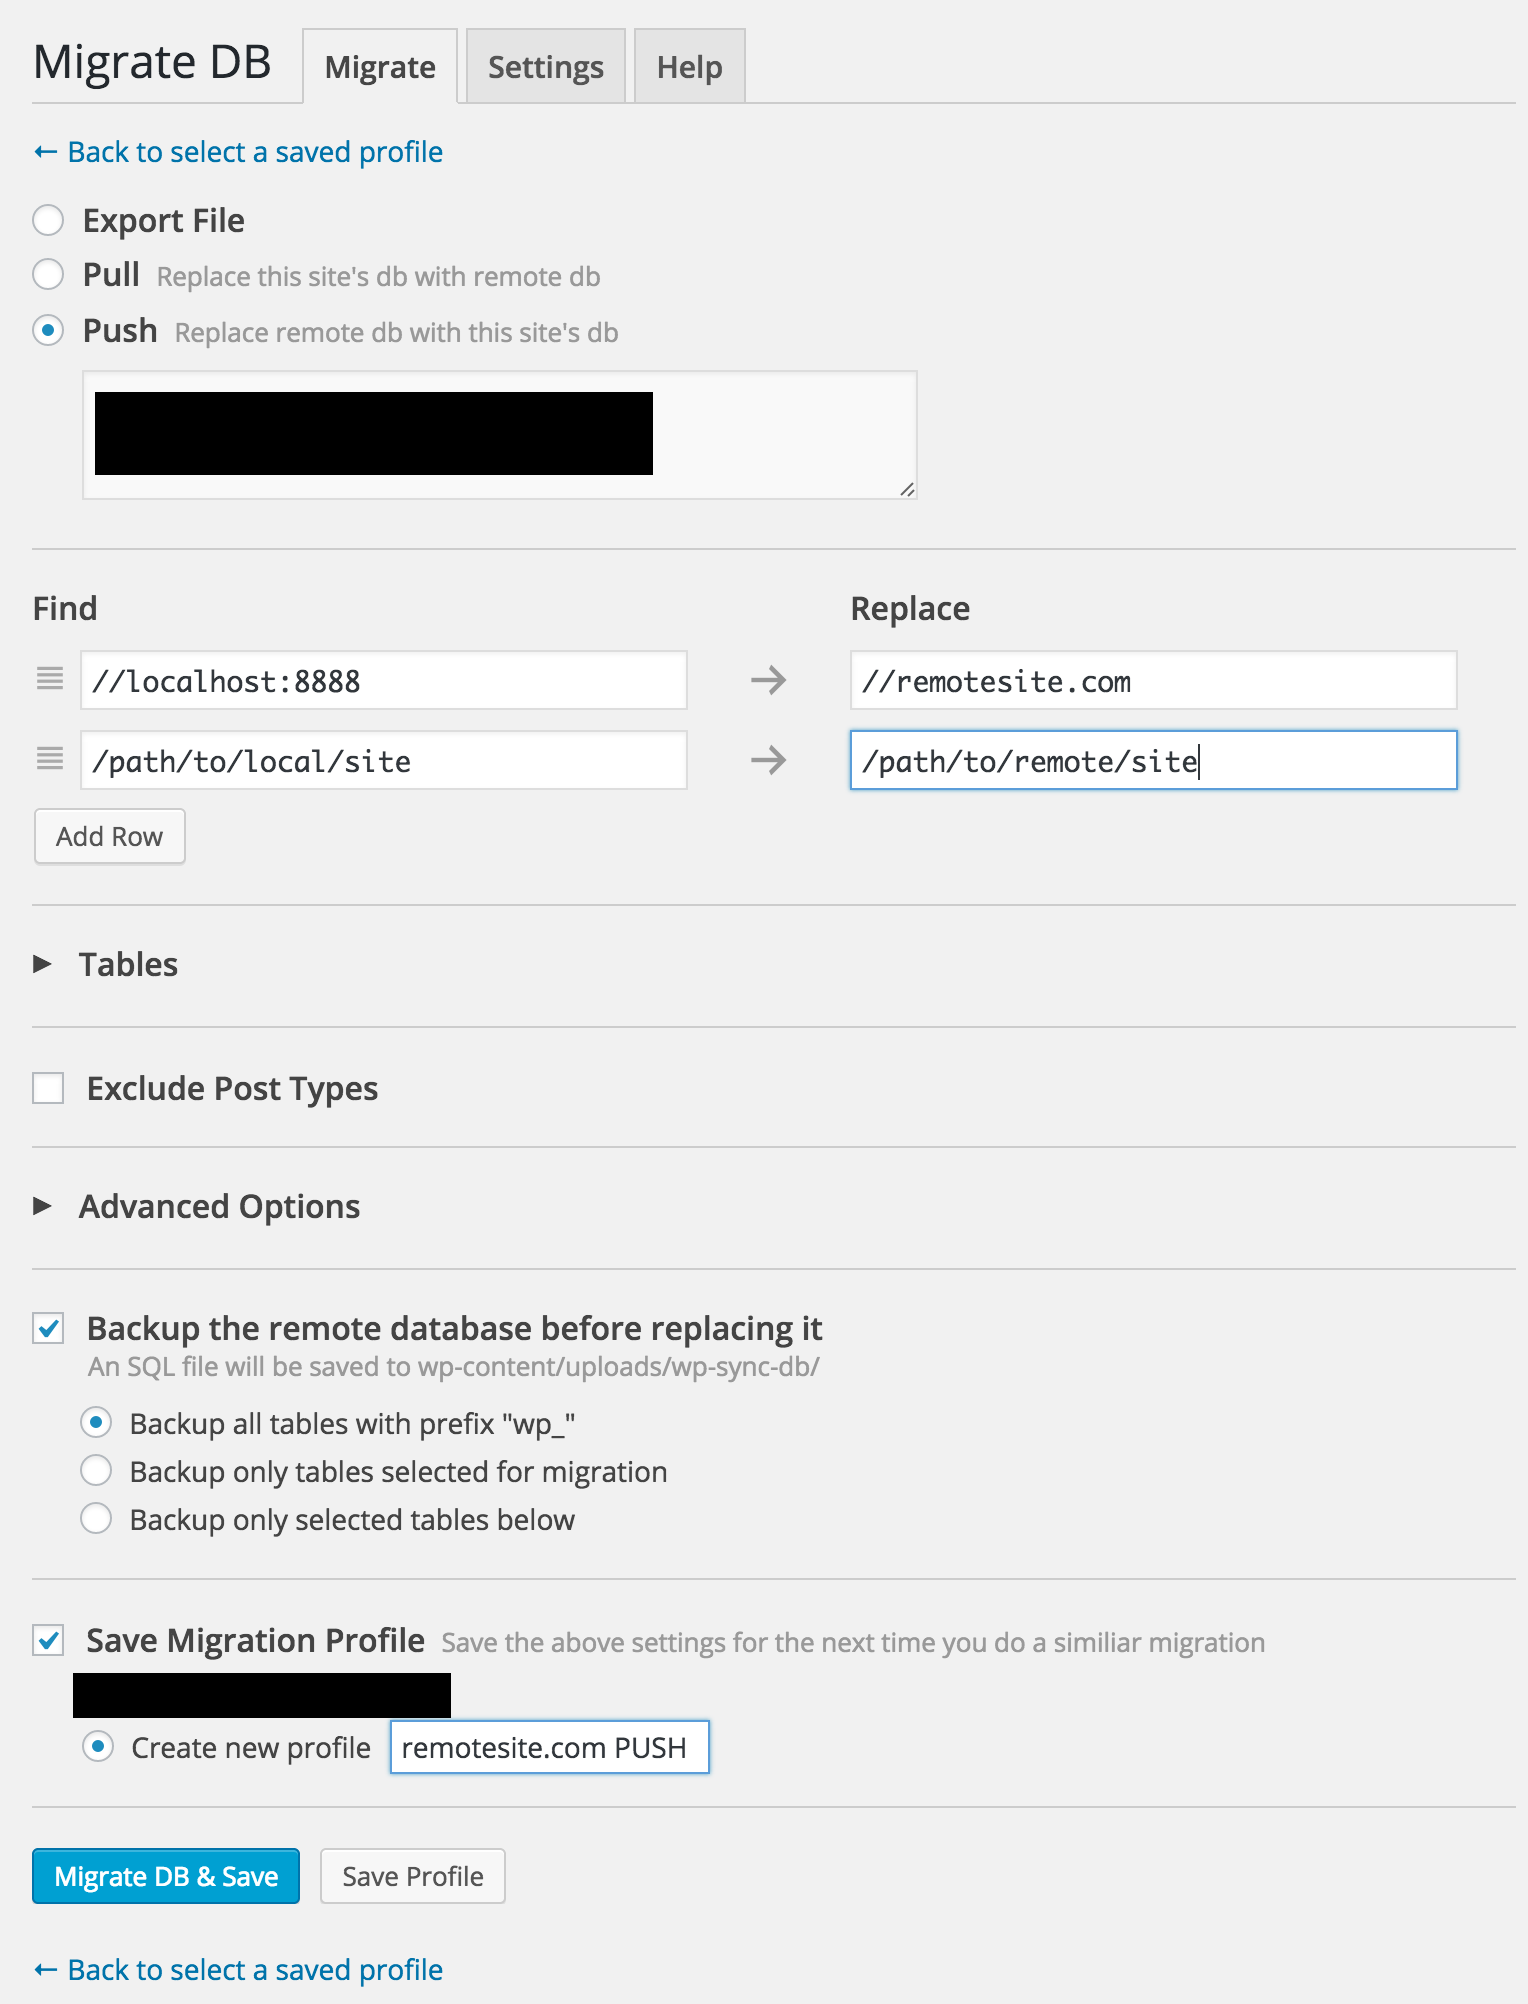
Back on your local machine, go to Tools > Migrate DB, and click Push. Paste the connection info you copied from the dev site. I usually check “Backup the remote database before replacing it” and “Save Migration Profile”, adding the word “PUSH” or “PULL” to the end of the profile name depending on what I’m doing. This allows me to push the database next time with 2 clicks, and if I add a pull profile from the dev site, the names of the profiles won’t be the same and confuse me.
Now, assuming you’ve configured your DNS correctly, when you navigate to your dev site you will see your perfect setup in all its glory! Well, just as it is on your local machine I hope.
It’s time to add our project to Codeship. Simply add your Bitbucket repo and skip the test configuration for now.
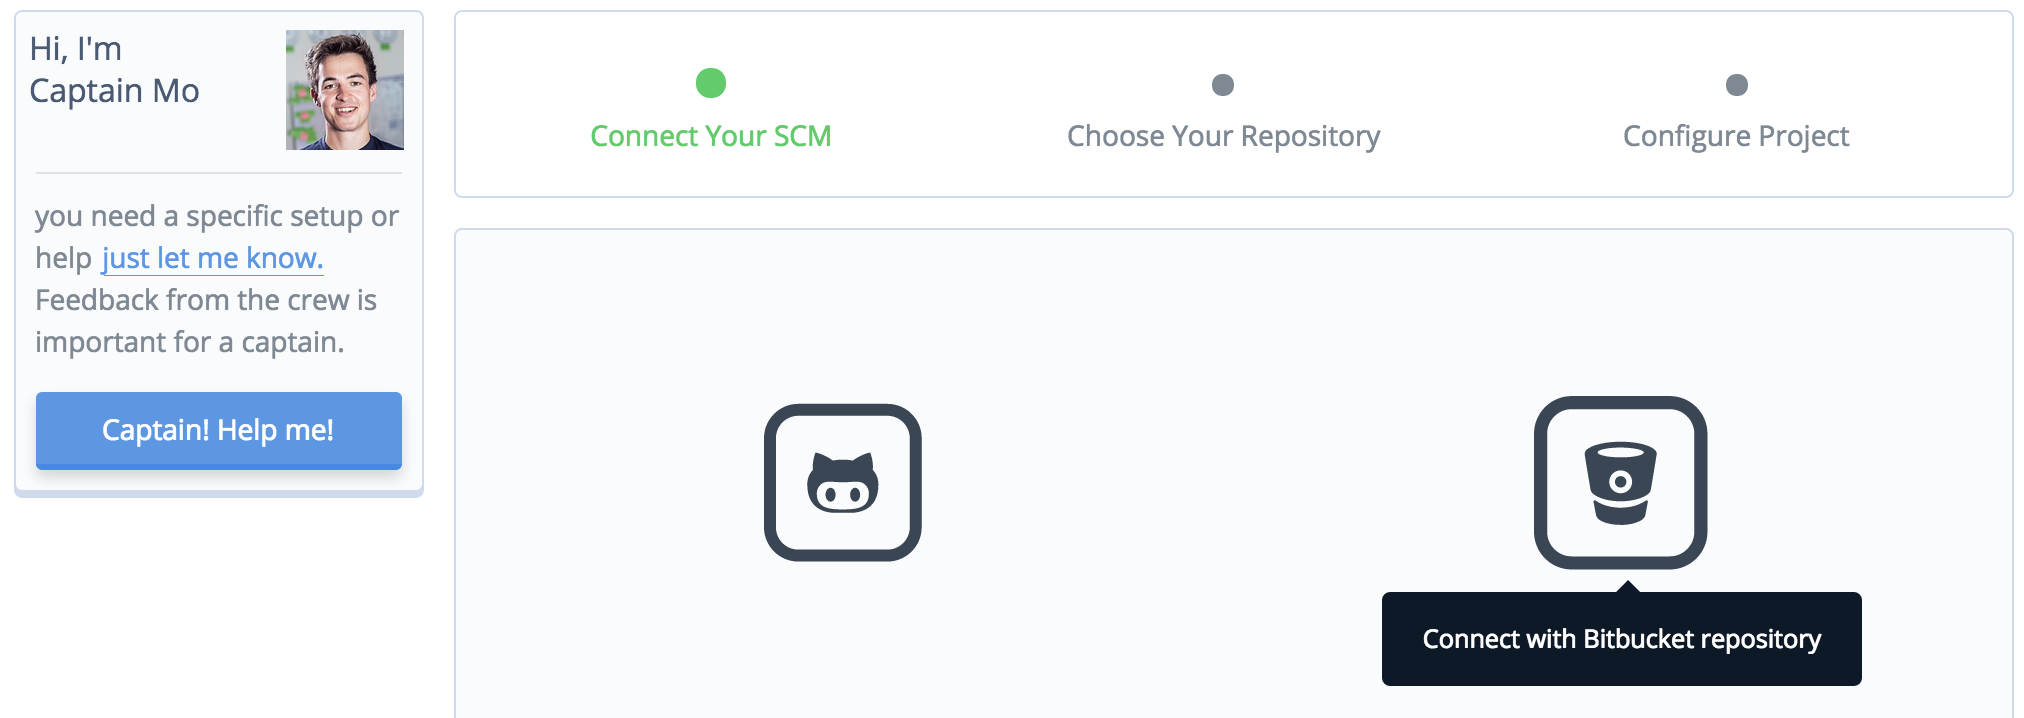
Note: We never use automated testing for WordPress websites. It’s a little bit overkill. WordPress core and plugin developers are already doing this. I do use it for Scratch and Perfect Setup, though. Just to test the gruntfiles.
To configure your deployment pipeline, go to Project Settings > Deployment. Add a pipeline for the master branch. You’ll notice there are a few third-party integrations to take advantage of, like Amazon S3 and Heroku. We’re using DigitalOcean, so we need to choose Custom Script.
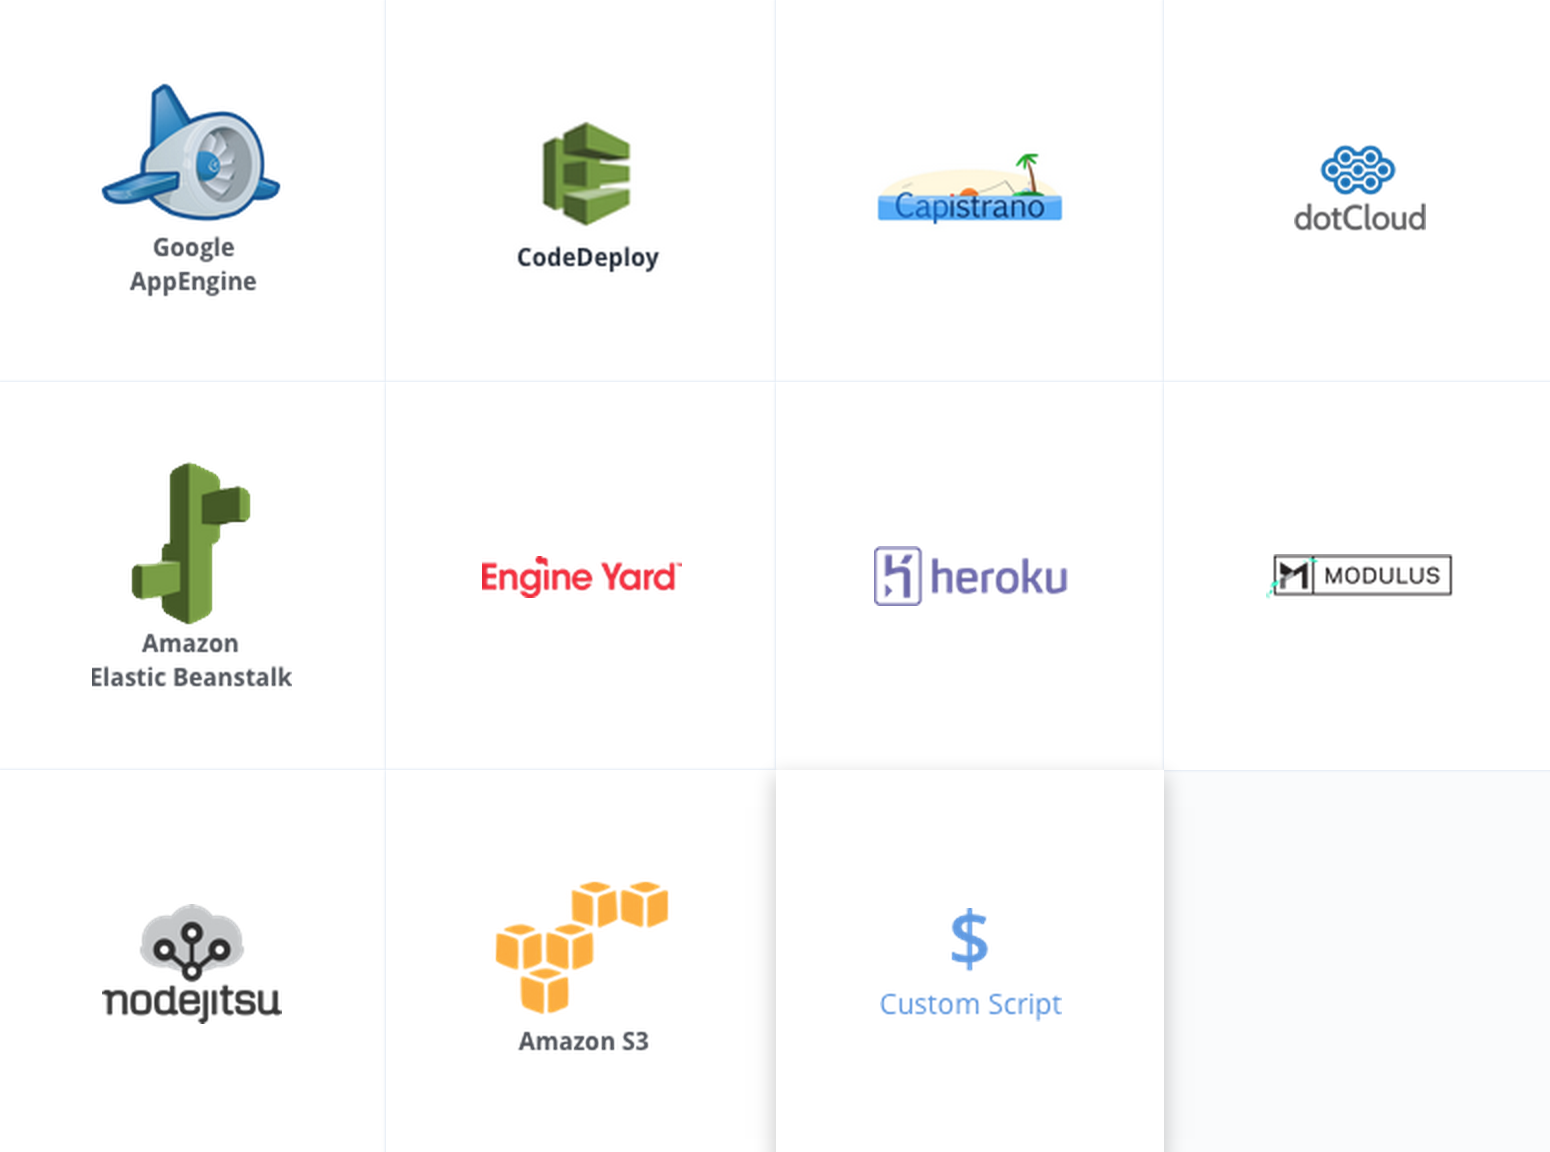
The script you use for this depends entirely on your dev server’s configuration, but ours looks something like this:
ssh user@example.com 'cd /var/www/example.com/htdocs && sudo git add . --ignore-removal && sudo git stash && sudo git pull origin master'First, we SSH in to our server as user.
It would probably be a great idea to add a user just for Codeship. You could call it…
codeship? Runsudo adduser codeshipon your dev server and store the password you assign it somewhere.
Then, we navigate to the directory where our project has been cloned. Lastly, we add all untracked files, stash any changes that have occurred on the dev site, and pull in any changes from the master branch of the origin remote. If you’re assuming that any differences between the dev site and the repo will be overwritten by the repo, you are absolutely correct. If you want to keep any of those differences, it’s important to first manually commit them on the dev server and push them to your repo, and then pull them down to your local machine.
Once you save this deployment pipeline, your custom script will be run on the next successful git push origin master. This is why it’s important to use the SSH version of the origin remote (you can test your remotes by running git remote -v), because since your script is run automatically, you can’t enter a password unless you store it in plain text on Codeship. With SSH, Bitbucket uses the SSH keys you set up to authenticate the git pull.
There are a couple of other things you need to do to ensure your deployment runs successfully. You need to add the Codeship public SSH key, which is set on a per-project basis, to codeship’s authorized_keys file, located at /home/codeship/.ssh/authorized_keys. The key is found in Project Settings > General > SSH public key.
Lastly, you need to make sure codeship is a member of the group sudo:
sudo usermod -a -G sudo codeshipand that it can run git commands using sudo without having to enter a password. To do this, run sudo visudo from your dev server and find this line:
# Allow members of group sudo to execute any command
%sudo   ALL=(ALL:ALL) ALL
and change it to this:
# Allow members of group sudo to execute any command
%sudo   ALL=(ALL:ALL) ALL, NOPASSWD: /usr/bin/git
Note:
/usr/bin/gitmay differ for you. Runwhich gitto find out where yourgitcommand lives.
Now, you should test your deployment! I always like to add the Codeship status badge to my project’s README.md. It looks like this:
[ ](https://codeship.com/projects/<PROJECT_ID>)and is found in Project Settings > Notification > Status Images > Copy Markdown Syntax.
Work Work Work
For now, you’re done configuring and you’re free to work on your project in peace. Enjoy hassle-free deployment of both the codebase AND the database!
You’ll want to watch out for permissions on your dev server, as they’ll be overwritten every time your deployment is run. We use a snippet in Sublime called permissions that looks something like this:
find * -type d -print0 | sudo xargs -0 chmod 0755 && find * -type f -print0 | sudo xargs -0 chmod 0644 && sudo chown -R www-data:www-data *to quickly fix ownership and permissions on a per-site basis. You run this from the individual site’s root directory on the server. You could also add this to your deployment script, but that would require giving the codeship user privileges to use sudo on any command without being prompted for a password.
Production Deployment
When you’re all set to move to production, you’ll want to follow the same Remote Setup process that you did for development. Then, simply add another deployment in Codeship. We use the production branch for production deployment. Then, on our local machines, we switch to the production branch, make sure it contains the same code as master, and run git push origin production.
Finally, you just have to add another migration profile using WP Sync DB called productionsite.com PUSH. Then push! From now on, both your dev and prod deployments will be easy as pie.
Pro Git Tips
If you don’t have a .gitignore file in your perfect setup, you definitely want one. You want to at the very least ignore the wp-config.php file and all node_modules. The wp-config.php file will be inherently different on each server, so there’s no reason to have it in the repo, and NPM modules have so many nested directories and files that they can cause problems on remote servers (which I have experienced first-hand). Besides, you’re only going to be running Grunt when you’re developing locally, so there’s no reason to ever have them in a remote environment.
Here’s our .gitignore in its entirety:
# Include your project-specific ignores in this file
# Read about how to use .gitignore: https://help.github.com/articles/ignoring-files

# Compiled source #
###################
*.com
*.class
*.dll
*.exe
*.o
*.so

# Packages #
############
# it's better to unpack these files and commit the raw source
# git has its own built in compression methods
*.7z
*.dmg
*.gz
*.iso
*.jar
*.rar
*.tar
*.zip

# Logs and databases #
######################
*.log

# OS generated files #
######################
.DS_Store
.DS_Store?
._*
.Spotlight-V100
.Trashes
ehthumbs.db
Thumbs.db

# Gruntfile, gulpfile, Sass cache and node modules #
####################################################
Gruntfile.js
gulpfile.js
.sass-cache/
node_modules/

# Backups and Uploads #
#######################
wp-content/backup*/
wp-content/uploads

# W3 Total Cache #
##################
wp-content/cache/
wp-content/w3tc-config/*
!wp-content/w3tc-config/master.php

# Ignore all WP themes except Scratch #
#######################################
wp-content/themes/*
!wp-content/themes/scratch-theme

# WP Config #
#############
wp-config.php

# iThemes #
###########
nginx.conf

# InfiniteWP #
##############
wp-content/infinitewp
In your remote environments, you will want to set some sensible git defaults for each project, like so:
# Suppress long filename warnings/errors
sudo git config --system core.longpaths true

# Tell git to ignore changes in file ownership/permissions
sudo git config core.fileMode false

# Display the status in a pager so you can see the whole thing
sudo git config --global pager.status true

# Suppress moar warnings
sudo git config core.safecrlf false
We also have a Sublime snippet for this, called gitconfig, that expands to this:
sudo git config --system core.longpaths true && sudo git config core.fileMode false && sudo git config --global pager.status true && sudo git config core.safecrlf falseRestricting Access to Dev Sites
You may not want your dev sites to be accessible to just anyone. There’s only one way to 100% keep your site off of search engines, and that’s to make sure your site pulls up a login form no matter where the user lands.
Accomplishing this with WordPress is super easy. First, you’ll want to make sure the WordPress function auth_redirect() works on the front end of your site. It only works on the back end by default. Add this to your functions.php file:
/* MAKE AUTH_REDIRECT WORK ON FRONT END */
add_filter( 'auth_redirect_scheme', 'wpse16975_check_loggedin' );
function wpse16975_check_loggedin() {
  return 'logged_in';
}
Now, you can add <?php auth_redirect(); ?> to header.php. But only on the dev site! And be sure to commit your changes so they aren’t overwritten on the next deploy.
UPDATE: You should also tell Git to ignore the uploads directory. Especially if your site is going to have a lot of them. If you bloat your repo too much Github and Bitbucket start restricting your access to it. Plus, it’s just good practice to consider media as part of the site content/database. WP Sync DB has a Media Files add-on for transferring uploads to and from environments.
Related Posts
- A Front End Developer’s Daily App Stack
- A Front End Developer’s Sublime Text Setup
- How I Use Chrome to Run a Web Design Business
Back to home page
